
How to Fix a Flat Bike Tire
Fixing a flat bike tire is a fundamental skill every cyclist should master. With the right tools and techniques, you can get back on the road quickly without needing professional help. This comprehensive guide walks you through the entire process, from identifying the cause to preventing future flats.
Essential Tools for Fixing a Flat Tire
Before starting any repair, gather these necessary tools:
-
Spare inner tube or patch kit
-
Bicycle pump (floor pump with pressure gauge preferred)
-
Wrench (if your bike doesn't have quick-release wheels)
Having these tools readily available, either at home or in a compact repair kit while riding, ensures you're always prepared for unexpected flats.
Removing the Wheel from Your Bike
The first step in fixing your flat tire is removing the affected wheel:
For rear wheels, shift your chain to the smallest sprocket before removal to make reinstallation easier. Release the brake if necessary by opening the quick-release mechanism on the brake caliper. If your bike has disc brakes, be careful not to touch the rotor or squeeze the brake lever when the wheel is removed.
For wheels with quick-release skewers, simply flip the lever and unscrew the opposite side if needed. For nutted axles, use a wrench to loosen the nuts on both sides. Once loose, carefully lift your bike and remove the wheel.

Finding the Cause of Your Flat
Before installing a new tube or patching the old one, it's crucial to identify what caused the flat:
Run your fingers carefully around the inside of the tire to feel for sharp objects like thorns, glass, or nails that might be embedded in the rubber. Check the tire's sidewalls for cuts or tears. Examine the rim for rough spots, especially around spoke holes where the rim tape might have shifted.
Identifying the cause helps prevent immediate recurrence of the flat after repair, saving you time and frustration.
Removing the Tire and Inner Tube
With the wheel removed:
Completely deflate the tube by pressing the valve stem. Starting opposite the valve, insert a tire lever under the tire bead and hook it to a spoke. Insert the second lever about three inches away and pry that section over the rim. Continue working around the rim until one side of the tire is completely free.
Pull the valve stem through the rim first, then carefully remove the entire tube. Leave the other side of the tire attached to the rim unless you need to replace the tire completely.
Inspecting and Repairing the Inner Tube
If you plan to repair rather than replace the tube:
Inflate the tube slightly and listen or feel for escaping air to locate the puncture. If this proves difficult, submerge sections of the tube in water and watch for bubbles. Once located, mark the puncture with a pen or chalk.
For patching, thoroughly clean and dry the area around the puncture. Roughen the surface with sandpaper (usually included in patch kits). Apply a thin layer of adhesive and wait until it becomes tacky. Apply the patch firmly, pressing from the center outward to remove air bubbles.
Reinstalling the Tire and Tube
The reinstallation process requires attention to detail:
Slightly inflate your new or repaired tube just enough to give it shape. Insert the valve stem through the valve hole in the rim, then work the tube into the tire cavity evenly.
Starting at the valve, push the tire bead over the rim using your thumbs, working in both directions. The last section often requires significant thumb strength but avoid using tire levers which can pinch and damage the tube.
Once mounted, push the valve up into the tire and pull it back down to ensure the tube isn't caught under the bead. Inflate the tire partially, then check that the tire is seated evenly on the rim all the way around.
Inflating to Proper Pressure
Proper inflation is critical for performance and preventing future flats:
Check the sidewall of your tire for the recommended pressure range. Road bikes typically require 80-130 PSI, while mountain bikes use lower pressures around 30-50 PSI. Heavier riders generally need higher pressure within the recommended range.
Inflate gradually, checking that the tire remains evenly seated on the rim. Fully compress the valve several times during inflation to prevent it from sticking in the partially closed position.
Reinstalling the Wheel
With your tire repaired and properly inflated:
For rear wheels, guide the smallest sprocket between the upper and lower sections of chain while aligning the axle in the dropouts. For front wheels, simply align the axle in the fork dropouts.
Tighten quick-release skewers securely or tighten axle nuts evenly on both sides. Reattach brakes if you released them. Spin the wheel to ensure it rotates freely without rubbing against brake pads or frame.
Preventing Future Flats
Several strategies can reduce your chances of experiencing flats:
Maintain proper tire pressure, checking weekly for road bikes and before each ride for mountain bikes. Consider upgrading to puncture-resistant tires with reinforced casings or tire liners. Use sealant inside tubes or tubeless setups that automatically seal small punctures as they occur.
Regularly inspect tires for embedded objects or signs of wear, removing debris before it works deeper into the rubber. Replace tires when the tread is worn or the sidewalls show cracking.
Conclusion
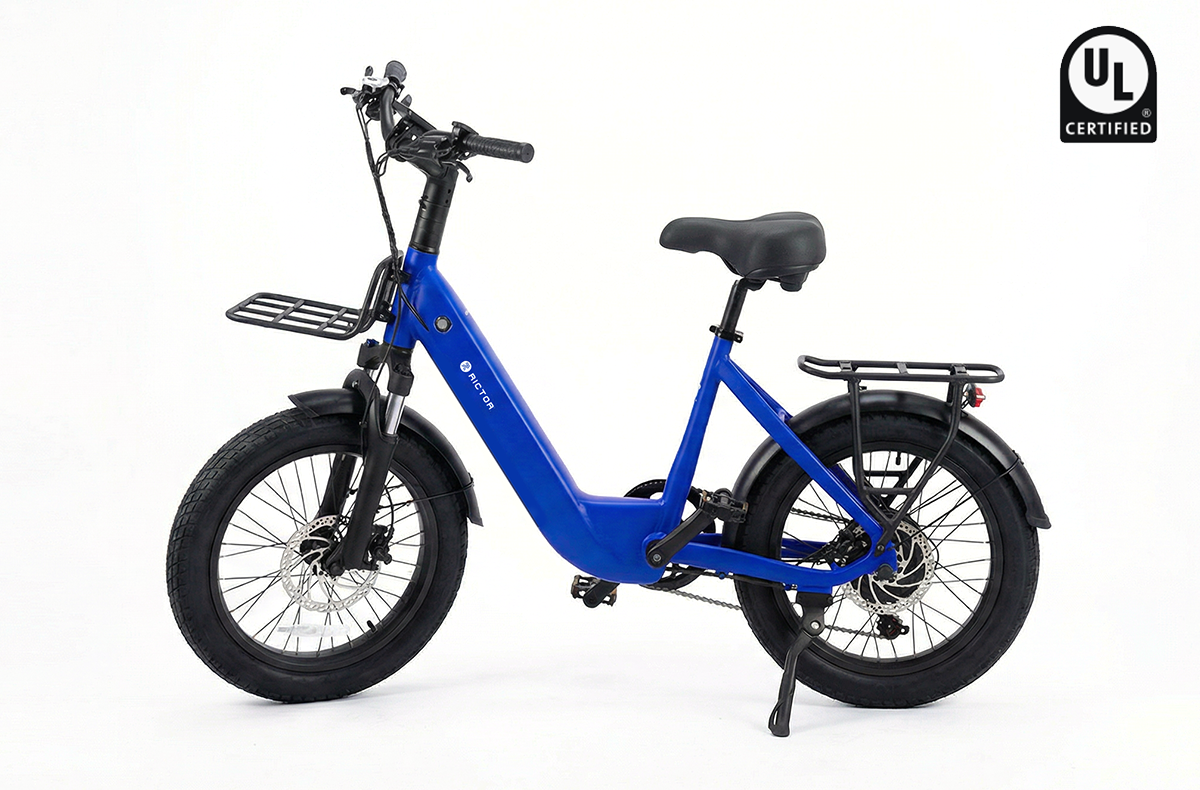
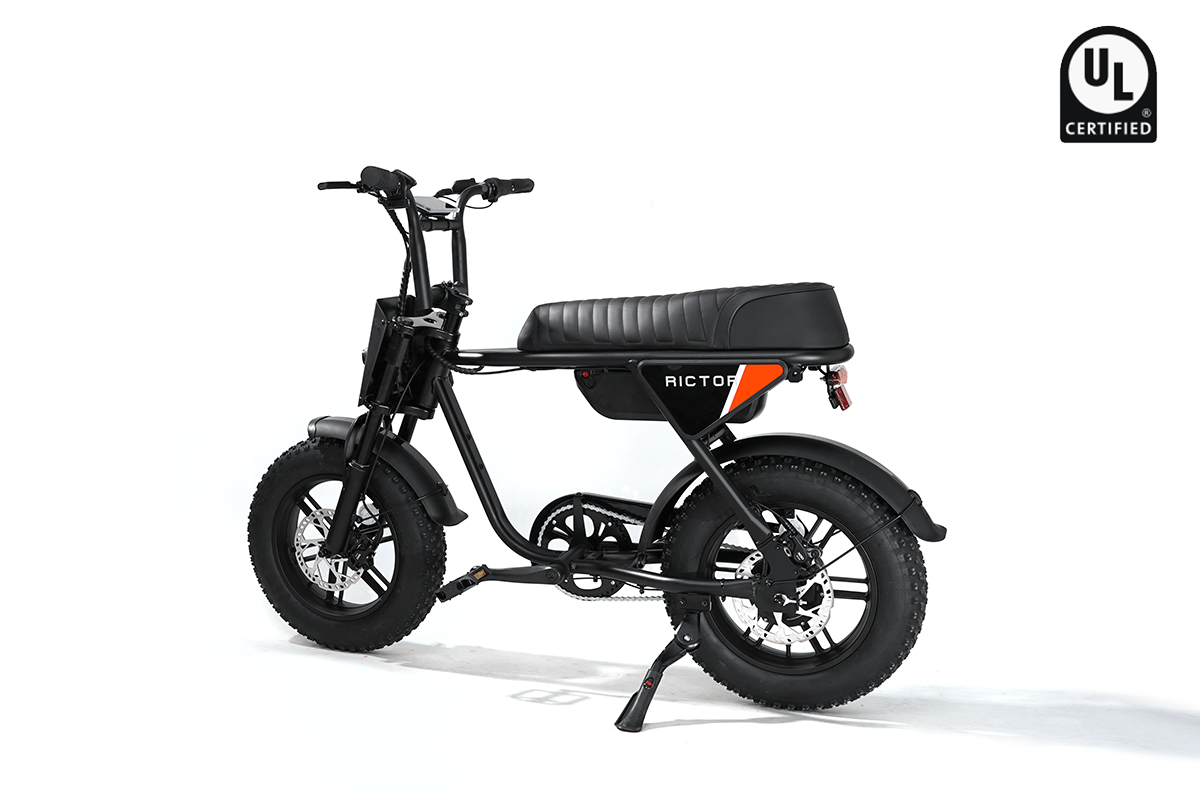
Fixing a flat bike tire is an empowering skill that enhances your cycling independence. By following these detailed steps and practicing the technique, what initially seems challenging becomes routine maintenance. Keep your repair kit stocked with quality tools, and you'll approach your rides with greater confidence knowing you can handle this common cycling issue wherever you may be. For people who ride the RICTOR K1 20 inch fat tire ebike, getting puncture proof bike tires is a great way to spend less time on repairs and more time enjoying your rides.
FAQs
How do I know if I should patch my tube or replace it entirely?
Patching works well for small punctures where the hole is clean and the tube isn't damaged around it. Replace tubes with large tears, valve issues, or multiple punctures.
Can I prevent flats by inflating my tires to the maximum pressure listed?
Maximum pressure isn't always ideal. It provides less shock absorption and sometimes worse traction. Stay within the recommended range based on your weight and riding conditions.
Why does my tire keep going flat even after I've fixed it?
Check for missed embedded objects in the tire, inspect the rim tape for proper coverage of spoke holes, and verify the patch is secure or the new tube isn't pinched between the tire and rim.