How to Replace Your Electric Bike Controller
An electric bike controller is one of the most crucial components of your e-bike system. This comprehensive guide will walk you through understanding what the controller does, where to find it, what it looks like, and how to replace it properly.
What Does an Electric Bike Controller Do
The controller manages the power flow between your battery and motor, ensuring the right amount of electricity reaches your motor based on your throttle input or pedal assist level. It interprets signals from various components including the throttle, pedal assist sensor, brake levers, and display panel, then determines how much power to send to the motor.
Additionally, the controller provides crucial protection functions for your e-bike system, including:
Low voltage protection to prevent battery damage
Current limiting to protect against power surges
Short circuit protection
Brake cutoff functionality for safety
Without a properly functioning controller, your electric bike won't operate correctly no matter how good your battery or motor might be.
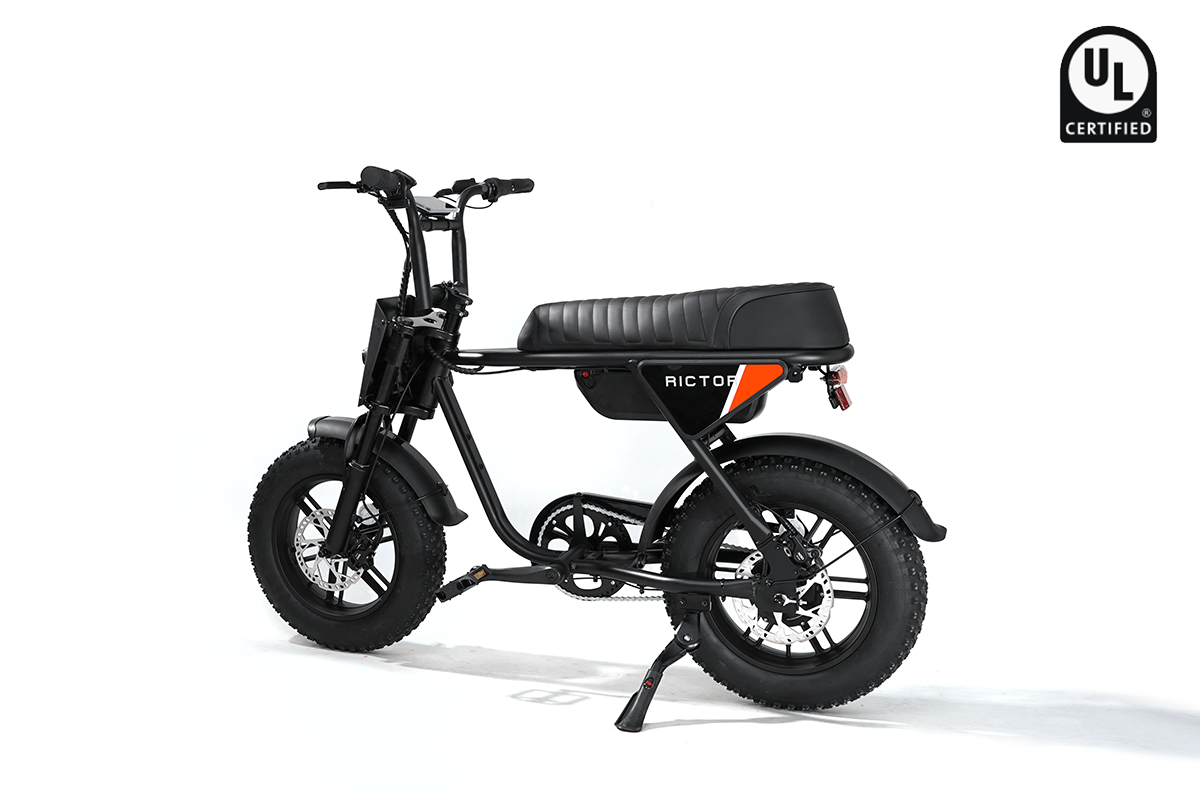
Where to Find Your Electric Bike Controller
The controller is typically housed in one of several common locations, depending on your bike's design and manufacturer:
Most commonly, the controller is found inside the frame triangle in a dedicated compartment or controller bag. Many bike manufacturers place it here for easy access while keeping it protected from the elements.
On bikes with integrated designs, the controller might be housed within the battery case itself, creating a cleaner look but making access slightly more complicated.
Some e-bikes, particularly those with mid-drive motors, place the controller near the bottom bracket area, sometimes integrated with the motor housing.
For e-bikes with rear rack batteries, the controller might be tucked inside the rear rack assembly, often in the same housing as the battery.
Less commonly, the controller might be mounted behind a side panel on the down tube or seat tube of the frame, hidden from view but accessible by removing the protective cover.
What Does an Electric Bike Controller Look Like
The typical controller consists of a circuit board housed in a rectangular aluminum case that helps dissipate heat. These aluminum housings usually feature cooling fins on the exterior to help with thermal management during operation.
Size varies by model, but most controllers measure between 3-6 inches (7.5-15 cm) in length, 2-4 inches (5-10 cm) in width, and about 1-2 inches (2.5-5 cm) in thickness.
What truly identifies a controller are its connecting wires. From the controller, you'll typically see:
Thick red and black wires (sometimes with connectors) that connect to the battery
A bundle of three thicker wires (typically green, yellow, and blue, but colors vary) that connect to the motor's phase wires
A smaller connector with multiple pins that connects to the motor's Hall sensorAdditional smaller wires or connectors for the throttle, display, pedal assist sensor, and brake cut-off switches
Controllers are typically labeled with important specifications including:
Voltage rating (24V, 36V, 48V, or 52V most commonly)
Amperage rating (commonly 15A, 20A, 25A, or 30A)
Wattage capacity (250W, 500W, 750W, 1000W, etc.)
Model number specific to the manufacturer
These specifications are crucial when selecting a replacement, as your new controller must match your e-bike's voltage requirements and be compatible with your motor type.
SEE ALSO Why Your Electric Bike KT Controller Not Working

Guide to Replace Your Electric Bike Controller
Replacing your controller requires careful attention to detail, but is manageable with the right approach. Follow this step-by-step guide for a successful replacement:
Tools and Materials Needed
-
Allen wrench set
-
Phillips and flathead screwdrivers
-
Wire cutters and strippers
-
Electrical tape or heat shrink tubing
-
Zip ties
-
Multimeter (for testing connections)
Safety Precautions
Working with electrical components requires careful attention to safety:
Completely power down your e-bike system
Remove the battery entirely from the bike
Work in a dry, well-lit area away from conductive surfaces
Use insulated tools whenever possible
Document Your Current Setup
Before disconnecting anything:
Take multiple clear photos of your existing controller connections from different angles
Make a diagram or notes indicating which wires connect to which terminals
Use masking tape and a marker to label each connector with its function
This documentation will prove invaluable during reassembly with the new controller.
Selecting the Right Replacement Controller
Finding the correct replacement controller is critical. Your new controller must match:
The voltage rating of your battery (24V, 36V, 48V, etc.)
The amperage rating appropriate for your motor
Compatibility with your motor type (brushed DC, brushless DC, or hub motor)
The connector types used by your specific e-bike model
Consider whether you want a direct replacement from the original manufacturer or a third-party upgrade. Original equipment typically ensures perfect compatibility, while upgrades might offer enhanced features or performance.
Accessing the Controller
Once you've located your controller:
Remove any protective covers or panels securing the controller
Take note of how the controller is mounted to the frame
Carefully detach any retention straps or brackets
Create adequate workspace around the controller
Disconnecting the Old Controller
With proper documentation complete, begin disconnecting wires in this order:
Disconnect any plug-and-play connectors (display, throttle, pedal assist sensor, etc.)
Disconnect the phase wires going to the motor
Disconnect the hall sensor cable if present
Finally, disconnect the battery power wires
Take care not to damage connectors during removal, as you'll reuse most of them with your new controller.
Removing the Old Controller
With all connections free:
Unscrew any mounting bolts securing the controller to the frame
Note the orientation and mounting method
Carefully remove the controller from its housing
Preserve any thermal pads or mounting hardware for reuse
Preparing the New Controller
Before installation:
Confirm all specifications match your requirements
Identify all connection points and compare them to your old controller
Apply any necessary thermal paste or pads
Check that any waterproofing gaskets are properly seated
If your new controller uses different connectors than your old one, you may need to:
Soldering new connectors to match your e-bike's wiring harness
Use adapter cables if available
Splice wires and insulate them with heat shrink tubing
Installing the New Controller
Mount the new controller:
Position it in the same location as the old one
Secure it with the original mounting hardware
Ensure it's oriented correctly for proper cooling
Verify it's firmly mounted and won't rattle loose during riding
Connecting the New Controller
Make connections in this sequence:
Connect the phase wires to the motor
Connect the hall sensor cable if your motor uses one
Connect all peripheral devices (display, throttle, pedal assist, etc.)
LAST: Connect the battery power wires
Double-check each connection against your photos and notes before proceeding.
Testing the Installation
Before finalizing everything:
Reinsert the battery
Power on the system
Check that the display functions correctly
Test the throttle response
Verify pedal assist functionality
Test brake cut-off switches
Securing and Finalizing
Once testing confirms proper operation:
Secure all wires with zip ties
Replace any protective covers
Ensure no wires can rub against moving parts
Apply dielectric grease to connections in humid environments
Programming (If Necessary)
Many modern controllers require programming:
Access settings through your display interface
Connect via a USB programming cable if required
Adjust settings like speed limit, pedal assist levels, and throttle response
Troubleshooting
If you encounter issues:
No power: Check connections and fuses
Motor runs backwards: Swap any two of the three phase wires
Error codes: Consult your controller manual
Inconsistent operation: Look for loose connections
Final Testing
Take your e-bike for a test ride in a safe location:
Start with low power settings
Test all assist modes
Monitor for any unusual noises or behavior
Check for proper braking and motor cut-off
Conclusion
With basic tools and methodical work, replacing your e-bike controller is simpler than most riders expect. This DIY repair saves money on service fees while giving you valuable insight into how your e-bike functions. Follow the steps in this guide, take your time with connections, and you'll have your bike running smoothly again in just a couple of hours.
FAQs
How do I know if my controller needs replacement?
Signs of controller failure include intermittent power delivery, error codes on your display, motor cutting out unexpectedly, or no response when the system is powered on despite a fully charged battery.
Can I upgrade to a more powerful controller?
You can only upgrade within the limits of your other components. Your battery voltage must match the controller, and exceeding your motor's designed power handling capacity can lead to premature failure.
Is controller replacement a difficult DIY project?
With basic electrical knowledge and proper documentation of your original setup, controller replacement is moderately difficult. The most challenging aspect is ensuring proper wire connections rather than the physical installation itself.