How to Replace Your Electric Bike Lock After Losing the Key
Losing the key to your electric bike can feel like a setback, but it doesn’t need to be a roadblock.
In fact, replacing your electric bike lock is often the quickest and most effective way to restore access to your bike and secure it against potential theft.
Whether you’re dealing with a mechanical lock or an electronic locking system, this step-by-step guide will walk you through everything you need to know to replace your bike’s lock by yourself.
Why Replacing the Lock is Necessary
When you lose your electric bike key, the immediate concern is likely access to the bike’s battery and motor.
Replacing the lock is also a crucial step to maintain your bike’s security.
Without the original key, your bike could be vulnerable to theft, especially if the lock mechanism is compromised.
Step 1: Know the Type of Lock Your Electric Bike Uses
Before you begin the process of replacing your electric bike lock, it’s essential to know what kind of lock your bike uses. There are two main types of locks: mechanical locks and electronic locks.
-
Mechanical Key Locks: These locks are more traditional and usually consist of a physical key that controls the locking mechanism. They are commonly used on the frame and battery compartment to secure the bike.
-
Electronic Key Locks: These are more advanced and are often integrated into the bike’s battery or motor system. They may require a special key fob or smartphone app to lock/unlock the bike.
-
Keyless Entry Systems: Some modern ebikes come with Bluetooth-enabled locks or RFID systems that allow you to unlock the bike using your smartphone or a key fob, eliminating the need for a physical key altogether.
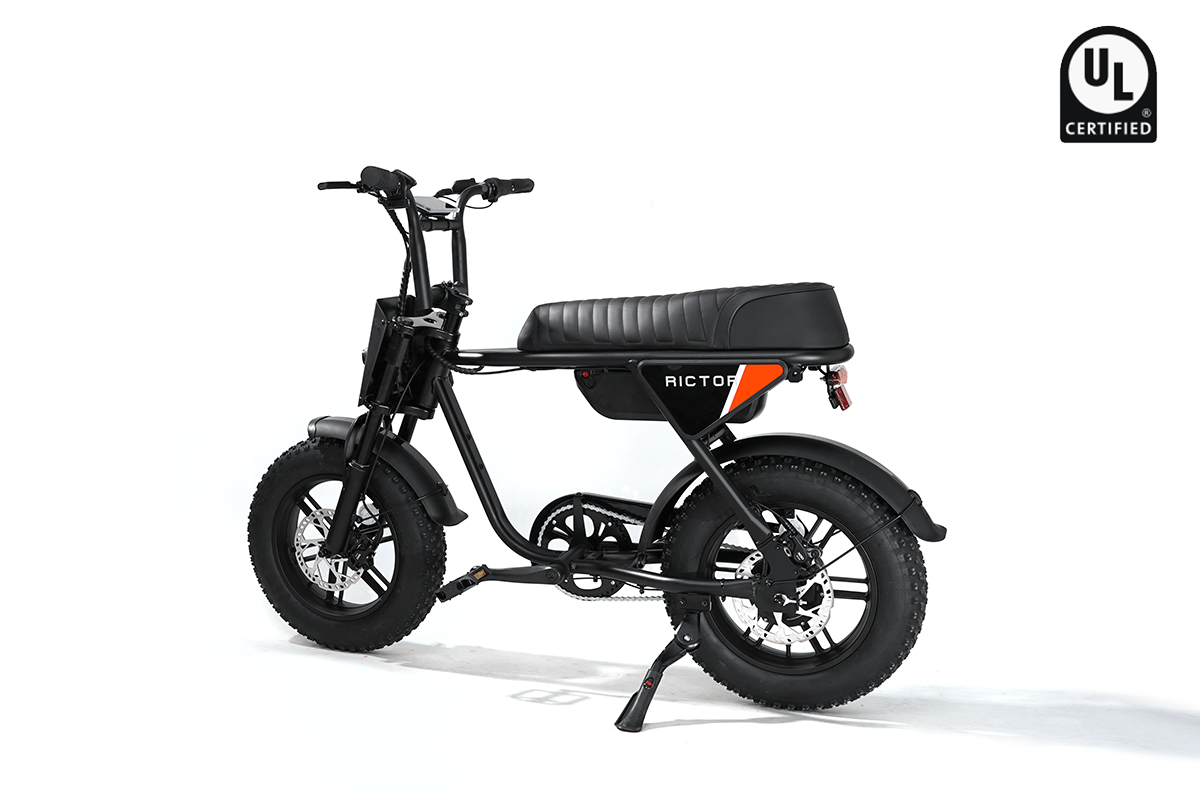
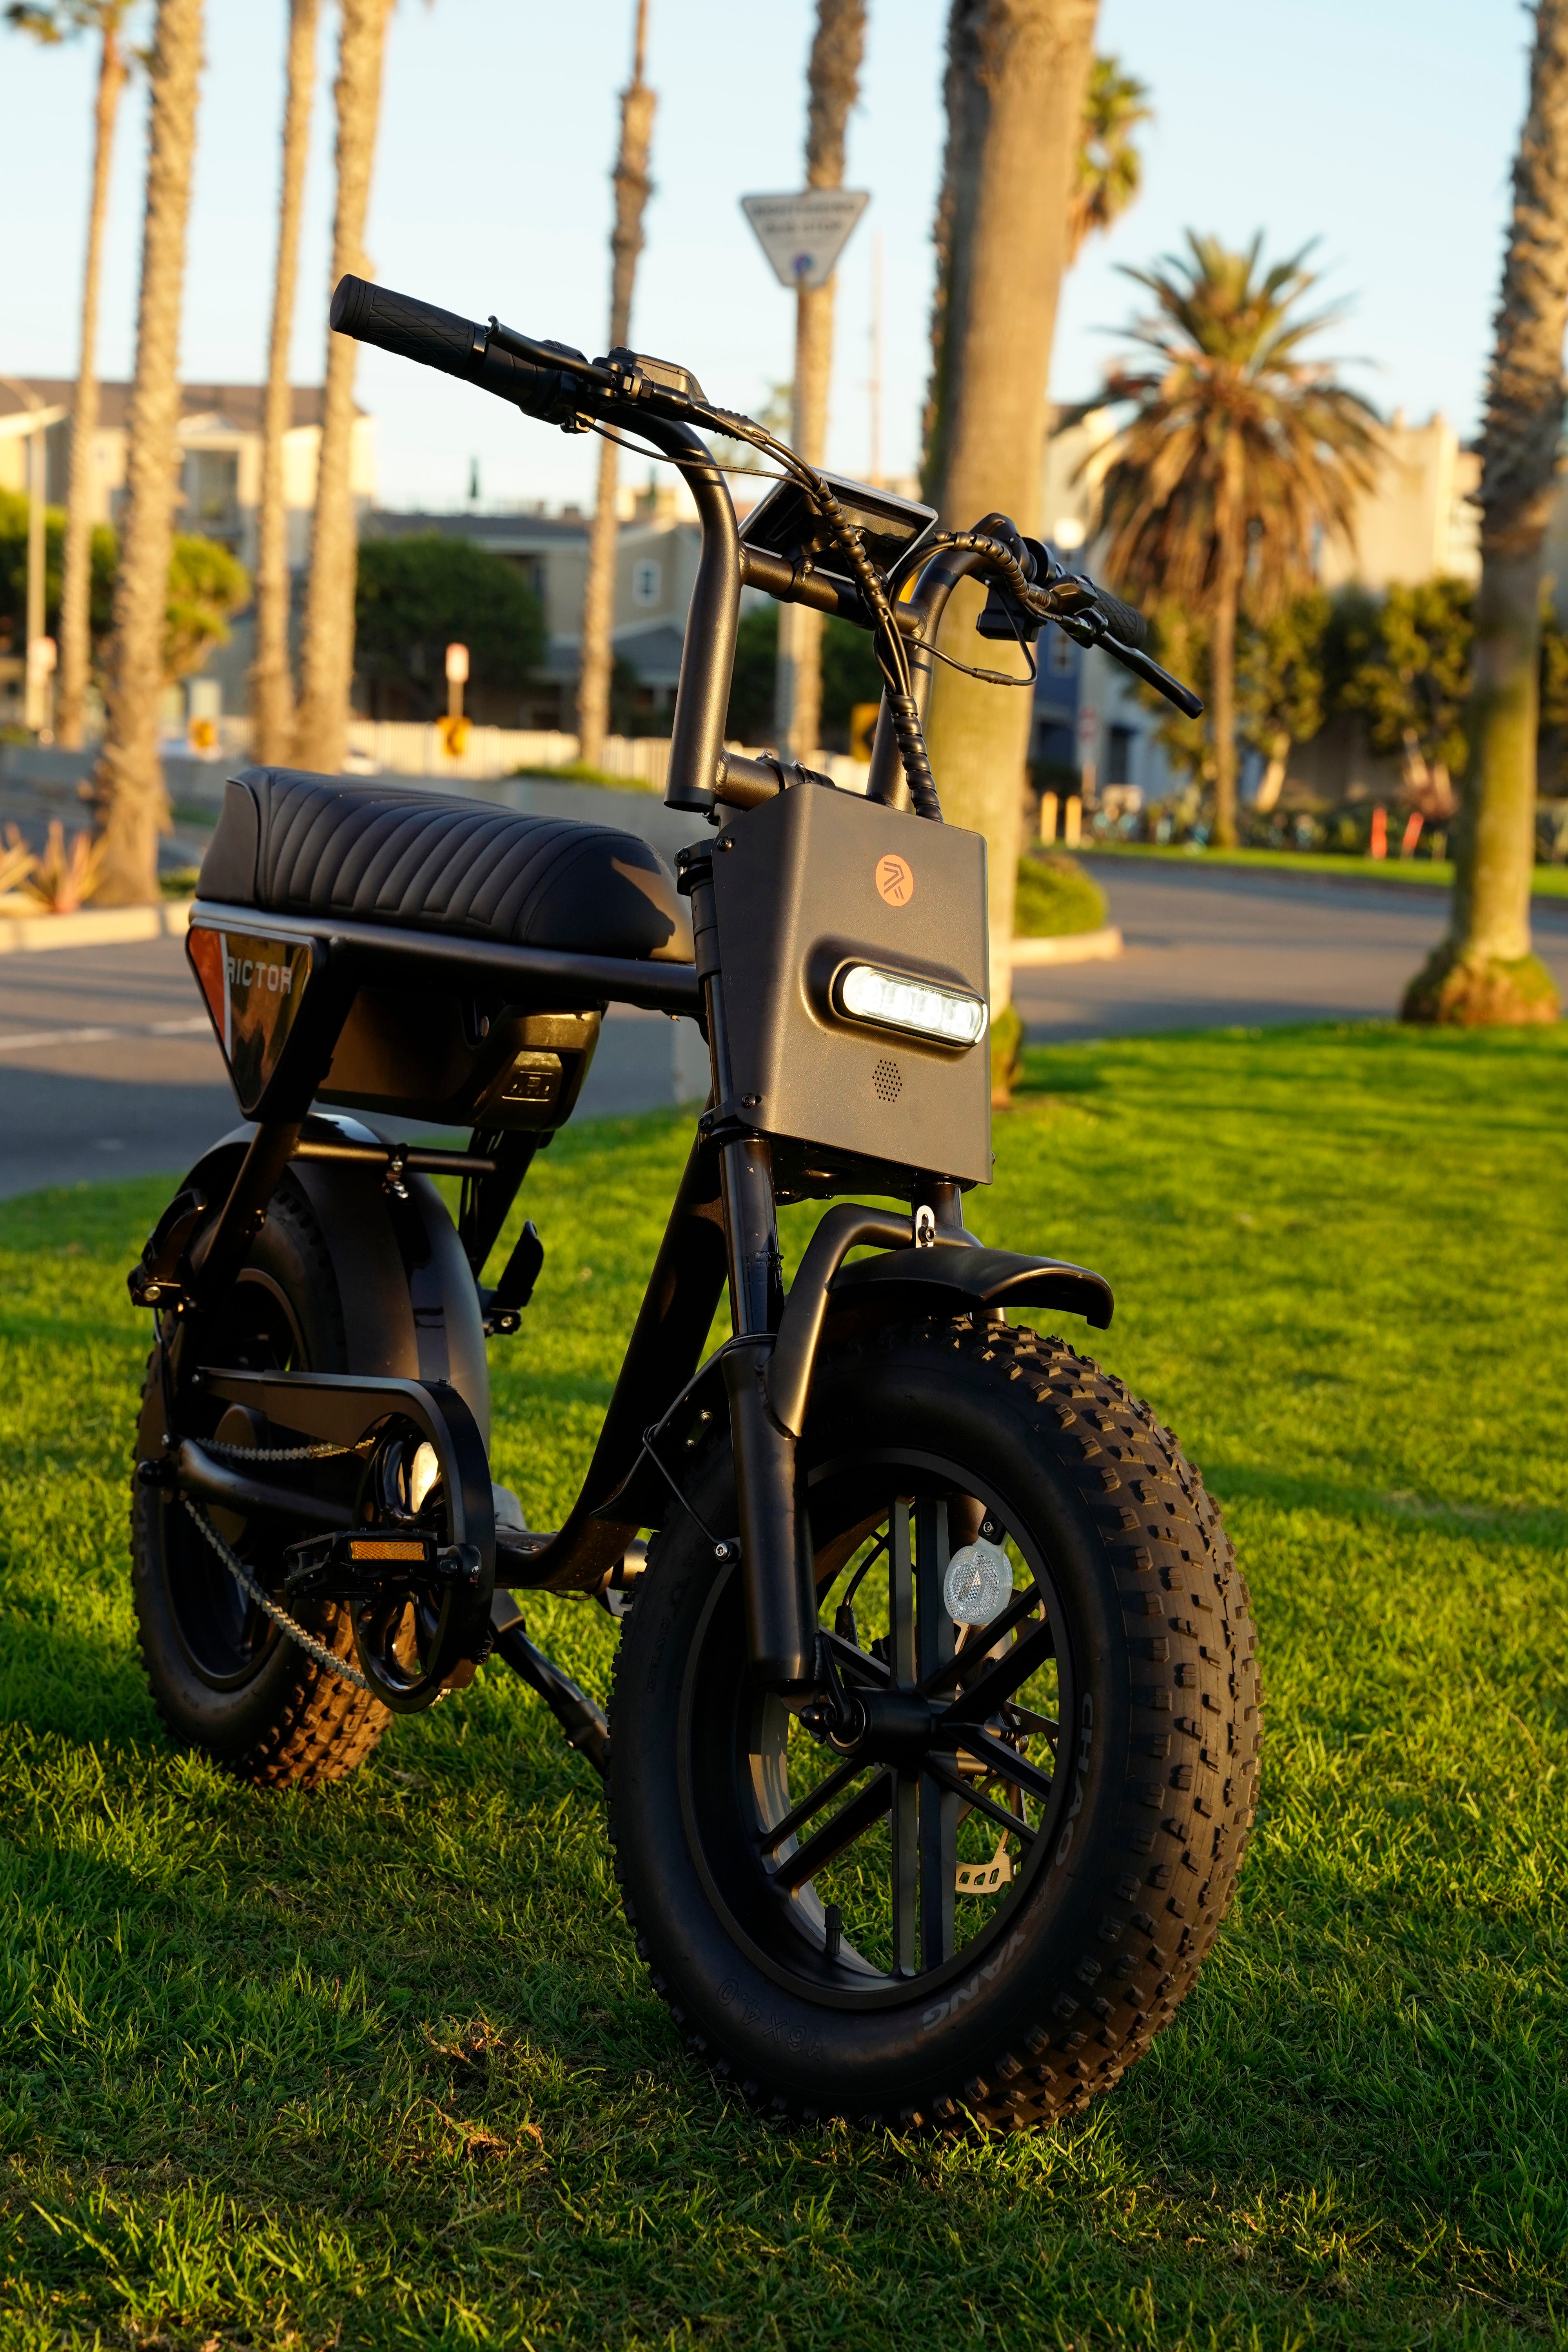
Rictor K1 all terrain electric bike uses an electronic lock, which is actually not difficult to replace. Keep reading to find out how.
Step 2: Gather Tools and Replacement Parts
Depending on the type of lock you have, you’ll need different tools to remove and replace the lock. Here’s what you should gather:
Basic Tools for Replacing a Lock:
-
Screwdrivers (Phillips or flathead) – For removing screws or bolts from the lock.
-
Allen Wrenches – These are often needed to remove bolts that secure the lock on the bike’s frame or battery compartment.
-
Pliers – To remove any clips, fasteners, or stubborn screws.
-
Replacement Lock – Be sure that the replacement lock is compatible with your bike’s design and system. For mechanical locks, check the lock’s size and key mechanism. For electronic locks, you may need to ensure the new lock matches the wiring and locking system.
-
Locking Mechanism – In some cases, you might need a new locking mechanism for the motor or battery.
It’s important to ensure that the replacement lock is compatible with your bike's model and type of lock. You may be able to order the correct replacement part directly from the bike’s manufacturer or an authorized dealer.
SEE ALSO Electric Bike Battery Getting Cold: Does A Battery Cover Help?
Step 3: Remove the Old Lock
For Mechanical Locks:
-
Locate the Lock’s Fasteners: Check around the area where the lock is mounted, typically on the frame or battery compartment. Some locks are secured with screws that are visible, while others may be hidden behind protective panels.
-
Unscrew the Lock: Use your screwdriver or Allen wrench to remove the screws or bolts securing the lock to the frame. Be sure to keep these screws in a safe place—they will be used to install the new lock.
-
Remove the Lock: Once the screws are removed, gently detach the lock from its mount. Some locks may have additional parts or clips that you’ll need to remove, so take care not to damage any wiring or parts that need to stay intact.
For Electronic Locks:
-
Disconnect the Battery: For safety, always start by disconnecting the bike’s battery. This will prevent any electrical issues or accidental shorts while you’re working.
-
Remove the Wiring: The electronic lock is often connected to the bike’s electrical system. Use pliers to carefully disconnect the wiring harness or plug connectors that connect the lock to the bike’s system.
-
Unscrew the Lock: Similar to mechanical locks, electronic locks are usually secured with screws. Remove these screws with your screwdriver or Allen wrench.
-
Remove the Lock: Once the screws are removed and the wiring is disconnected, you can carefully take the electronic lock off the bike.
Step 4: Install the New Lock
For Mechanical Locks:
-
Align the New Lock: Position the new lock in the same spot where the old lock was removed. Make sure the mounting holes line up correctly with the lock’s fasteners.
-
Secure the Lock: Use the screws or bolts you removed earlier to secure the new lock in place. Tighten the screws carefully, ensuring the lock is firmly attached but not over-tightened, which could damage the bike’s frame.
-
Test the Lock: Insert the key into the new lock and test it to ensure it works smoothly. Turn the key to confirm the locking mechanism engages and disengages properly.
For Electronic Locks:
-
Connect the New Lock’s Wiring: The new electronic lock will likely come with its own wiring connectors. Attach the new wiring to the bike’s electrical system, ensuring the connectors are securely plugged in.
-
Mount the Lock: Secure the electronic lock in place on the frame or battery compartment using the provided screws.
-
Reconnect the Battery: Once the lock is in place, reconnect the battery and ensure that the lock operates correctly. Some bikes may require pairing with a key fob or smartphone app.
-
Test the Lock: Test the new electronic lock by using the key fob, smartphone, or app. Ensure the system locks and unlocks smoothly.
Step 5: Test the New Lock and Ensure Security
Once the new lock is installed, take the time to thoroughly test it to ensure it’s functioning properly. Check the following:
-
For Mechanical Locks: Does the key turn smoothly? Does the lock secure and release easily without sticking?
-
For Electronic Locks: Is the lock responsive to the key fob, app, or smartphone? Does it lock/unlock as expected?
It’s also a good idea to test the bike’s battery and motor to ensure that the new lock system hasn’t caused any disruptions. If everything is functioning as it should, your bike is ready for use again!
Step 6: Prevent Future Lock Loss
Now that your lock is replaced, it’s time to consider preventative measures to avoid losing your keys again in the future.
Tips for Avoiding Key Loss:
-
Store Spare Keys: Always keep a spare key in a secure location—perhaps a lockbox, a trusted friend’s house, or a hidden spot on the bike.
-
Consider Keyless Entry: Some modern electric bikes offer Bluetooth-enabled locks that allow you to unlock the bike via a smartphone app, eliminating the risk of losing your key.
-
Use a Keychain: Attaching the key to a brightly colored or easily visible keychain can make it less likely to get misplaced.
Additionally, consider adding a secondary layer of security, such as a U-lock or cable lock, to deter theft.
Conclusion
Replacing the lock on your electric bike is a simple but crucial step in maintaining its security and getting back on the road after losing your key. By following these detailed steps, you can replace both mechanical and electronic locks yourself, ensuring your bike remains safe and secure. Remember to test the new lock thoroughly, and consider taking extra precautions to prevent future key loss.
With the right tools and a bit of patience, you’ll have your bike locked up and ready to ride again in no time.
FAQs
Can I replace the lock on my electric bike myself?
Yes, replacing the lock is a straightforward process. If you have the right tools and a compatible replacement lock, you can remove the old lock and install the new one yourself.
What should I do if I can’t remove the old lock?
If you encounter difficulty removing the old lock, consult a professional locksmith or bike shop for assistance. They can help you remove the lock without causing damage to the bike’s frame or wiring.
How do I choose the right replacement lock for my electric bike?
Check your bike’s user manual or contact the manufacturer for details on the type of lock system your bike uses. Ensure the replacement lock matches your bike’s frame and electrical components for proper installation.


