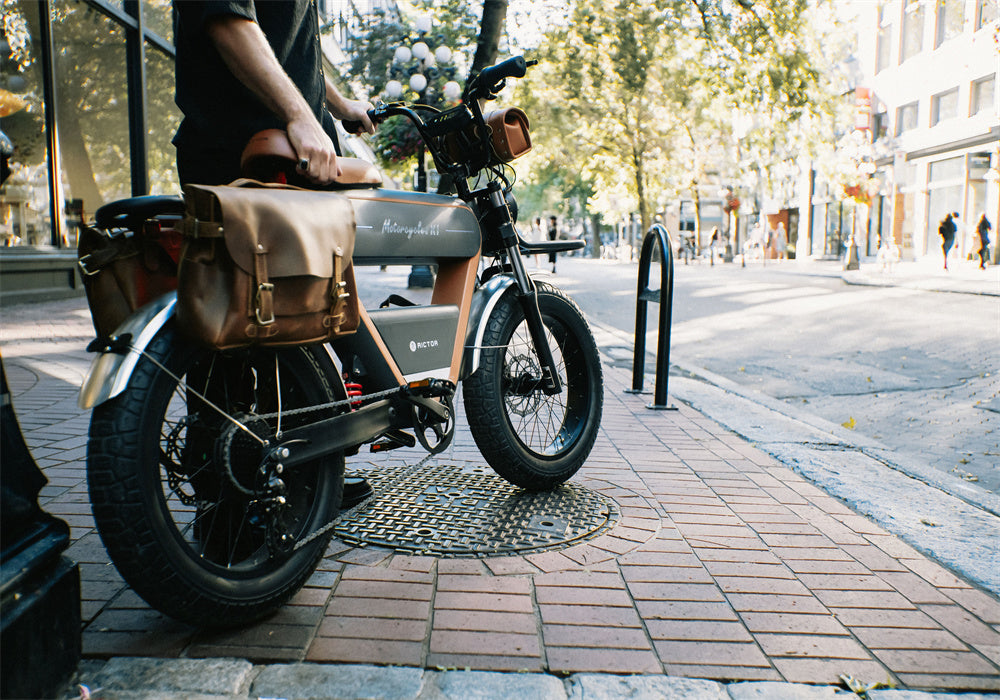
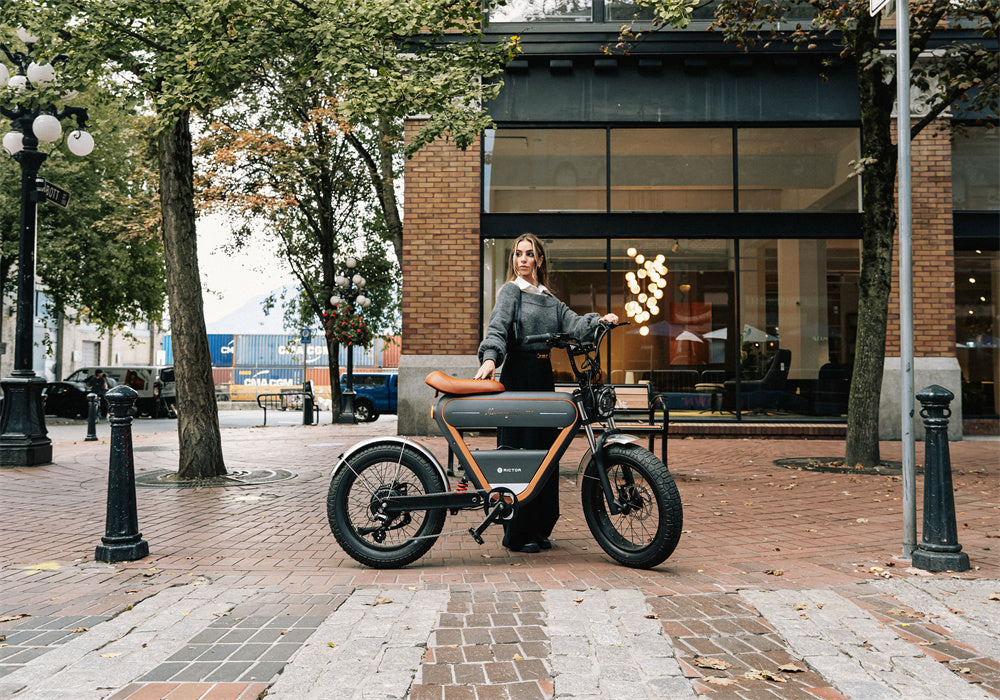
Got all your electric bike parts ready? Wondering how to put everything together? Our guide will walk you through the process of building your own electric bike step by step. Assembly can be tricky, and even when it looks like everything is put together correctly, small wiring issues might still cause problems. If you hate the idea of having to redo your work, you might consider buying a complete electric bike like the Rictor K1 cafe racer electric bike - a vintage-style option with impressive range. But if you're ready to build, let's get started!
Getting Your Workspace Ready
First, set up a clean, well-lit workspace with enough room to move around your bike. You'll need:
- Basic bike tools (wrenches, screwdrivers, Allen keys)
- Wire cutters and strippers
- Zip ties
- Electrical tape
- Multimeter (helpful but not required)
Place your bike on a stand if you have one, or flip it upside down on its handlebars and seat for stability during the build process.
SEE ALSO Complete Checklist for DIY Electric Bike Parts
Step 1: Preparing Your Bike Frame
Start by cleaning your bike thoroughly and removing any parts that will get in the way of your installation:
- Take off the wheel where you'll install the motor (usually the rear wheel)
- Remove any accessories that might interfere with battery placement
- Clean the frame, especially where you'll mount components
- Check that brakes work well and fix any issues with the base bike

Step 2: Installing the Motor
The most common motor types are hub motors (which replace a wheel hub) and mid-drive motors (which attach near the pedals).
For a hub motor installation:
- Remove the existing tire and tube from your wheel rim if you bought just a hub motor
- Transfer the tire and tube to your new motorized wheel, or prepare your existing wheel for motor installation
- Install the wheel with the motor into the frame
- Make sure the axle sits fully in the dropouts
- Tighten the axle nuts firmly (or quick release)
- Route the motor cable along the frame toward where the controller will go
For a mid-drive motor installation:
- Remove the bottom bracket (the axle and bearings that the pedal cranks attach to)
- Clean the bottom bracket shell thoroughly
- Insert the mid-drive unit where the bottom bracket was
- Secure it according to the manufacturer's instructions
- Reattach the cranks and pedals to the new drive unit
Step 3: Mounting the Battery
The battery is heavy, so its placement affects how your bike handles.
- Decide where to mount your battery - common spots include:
- Inside the main frame triangle
- On a rear rack
- Along the down tube
- Attach the battery mount securely using the provided hardware
- Make sure it's tight and won't shift while riding
- If using a frame bag for the battery, secure it with strong straps
- Place the battery in its mount but don't connect it electrically yet
SEE ALSO Signs You Need to Replace Your Electric Bike Battery
Step 4: Installing the Controller
The controller is the brain of your e-bike system.
- Find a spot for the controller that's protected from water and impacts
- Under the seat
- Inside a frame bag
- Attached to the frame with mounting brackets
- Secure the controller with zip ties, Velcro straps, or mounting hardware
- Make sure it won't rattle loose during rides
- Position it so the wires can reach all other components without stretching

Step 5: Wiring Everything Together
This step needs patience and attention to detail.
- Lay out all wires before making connections to plan the neatest routing
- Connect the motor wires to the controller (match colors or labels)
- Route the wires along the frame, securing them with zip ties every few inches
- Keep wires away from moving parts like wheels, chain, and pedals
- Don't connect the battery yet - this should be the last connection you make
Step 6: Adding the Display and Controls
Most e-bike systems include a display and control buttons.
- Mount the display on your handlebars where you can see it while riding
- Attach any control buttons (like power levels or throttle) in a comfortable position
- Route these wires neatly along the handlebars and down to the controller
- Secure with zip ties, making sure the wires don't limit your steering
Step 7: Installing a Throttle (Optional)
If your system includes a throttle for power without pedaling:
- Mount the throttle on your handlebars in a comfortable position for your thumb or wrist
- Make sure it doesn't interfere with shifting or braking
- Connect the throttle wires to the controller
- Secure the wiring along the handlebars and frame
Step 8: Adding the Pedal Sensor (For Pedal-Assist Systems)
Pedal sensors detect when you're pedaling to activate the motor.
- Attach the pedal sensor ring around the bottom bracket or crank arm
- Mount the sensor pickup so it aligns with the ring
- Make sure there's a small gap between the sensor and magnet ring (1-3mm usually)
- Route the sensor wire to the controller
- Secure all wires with zip ties
Step 9: Doing a Pre-Power Check
Before connecting the battery:
- Double-check all connections match your wiring diagram
- Make sure all bolts and screws are tight
- Check that wires are secured and away from moving parts
- Verify that wheels spin freely and brakes work
- Make one final inspection of all mounting points

Step 10: Connecting the Battery and Testing
Now it's time for the moment of truth.
- Connect the battery to the controller
- Turn on the system using the power button (usually on the display)
- Check that the display lights up and shows information
- Test the throttle (if installed) with the rear wheel off the ground
- Test the pedal sensor by turning the pedals and looking for motor activation
- Make sure the motor stops when you:
- Apply the brakes
- Stop pedaling (for pedal-assist systems)
- Release the throttle
Step 11: Taking a Test Ride
Start slowly and in a safe, open area.
- Begin with the lowest power setting
- Test the brakes to make sure they can stop you with the added power
- Try the different power levels
- Pay attention to any unusual noises or vibrations
- Check that all components stay firmly attached during riding
- Test the bike at various speeds to make sure it handles safely
Step 12: Making Adjustments
After your test ride, you'll likely need to make some tweaks.
- Tighten any components that may have loosened
- Adjust wire routing if any wires are rubbing or pulling
- Fine-tune the brakes - they may need adjustment with the extra weight
- Check all electrical connections again
- Secure any parts that shifted during your test ride
Step 13: Weatherproofing Your Build
To protect your electrical system:
- Cover exposed connections with heat shrink tubing
- Use dielectric grease on connections that might be exposed to moisture
- Wrap connection points with electrical tape for extra protection
- Consider adding fenders to reduce water spray onto electrical parts
- Add a cover or case for the controller if it doesn't already have one
Step 14: Final Safety Check
Before regular use, do one more thorough check:
- Verify all nuts and bolts are tight
- Check that the battery is securely mounted
- Make sure all wires are protected and secured
- Test the brakes again with the motor at full power
- Verify that the power cuts off immediately when brakes are applied
Conclusion
Building your own electric bike takes time and patience, but the reward is a custom ride that matches exactly what you need.
FAQs
How long does it take to build an electric bike?
For a first-time builder, set aside a full weekend (8-12 hours of actual work time). With experience, you might complete a build in 4-6 hours.
What if my motor doesn't turn on after installation?
Start by checking all electrical connections. Most problems come from loose wires or incorrect connections. Use a multimeter to test for power at various points in the system.
How can I extend the range of my DIY electric bike?
Use pedal assist instead of throttle when possible, maintain proper tire pressure, and shift gears to keep the motor in its efficient range. Your riding style affects range more than most other factors.
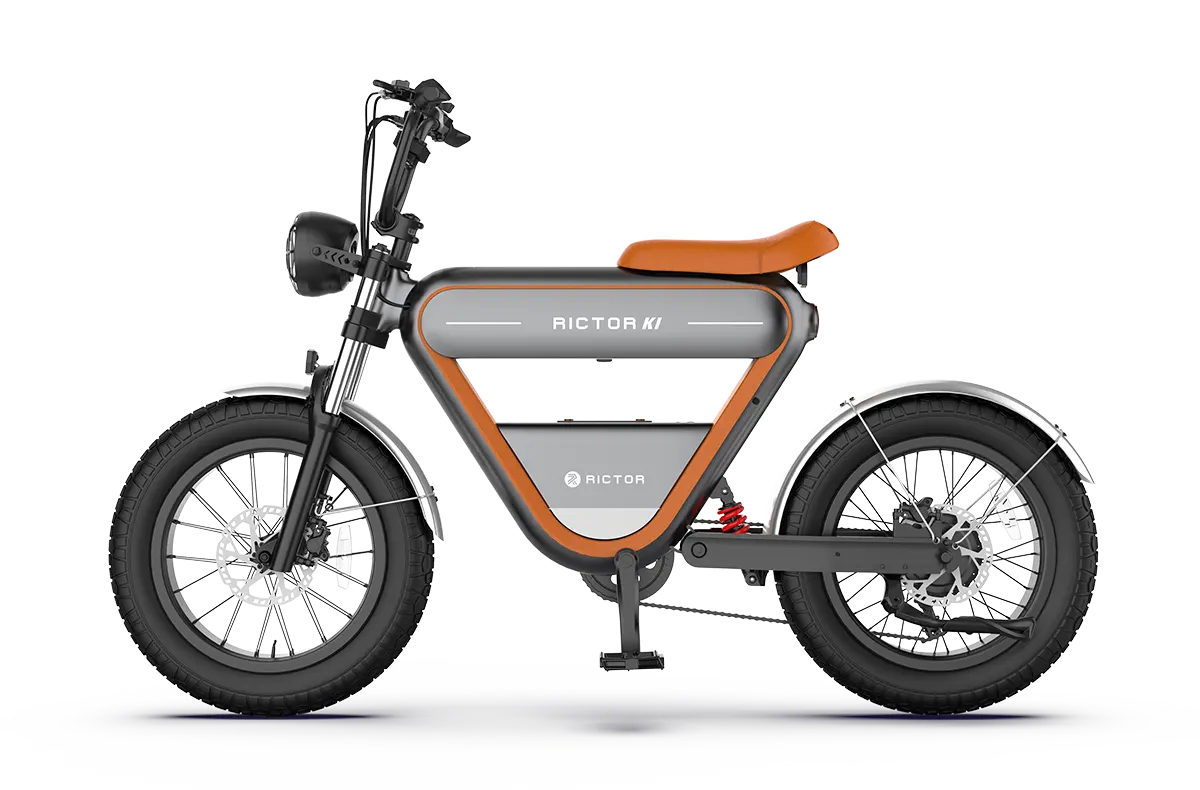
RICTOR K1
$1,699.00 - $1,999.00
Apr 24, 2025
How to Carry a Dog on an Electric Bike
Apr 24, 2025
Bicycle Head Tube Sizes Explained: What You Need to Know Before Buying

Apr 22, 2025
Electric Bike for Seniors with Bad Knees: Ride Easy Again

Apr 22, 2025
Best Electric Bike for Short Female Riders Under 5’2

Apr 21, 2025
Do E-Bikes Need Different Chain Lube?

Apr 17, 2025


