Complete Checklist for DIY Electric Bike Parts
Planning to build your own electric bike? This checklist covers all the parts you'll need. We focus on helping you choose the right components for your custom e-bike project.
Your Own Electric Bike
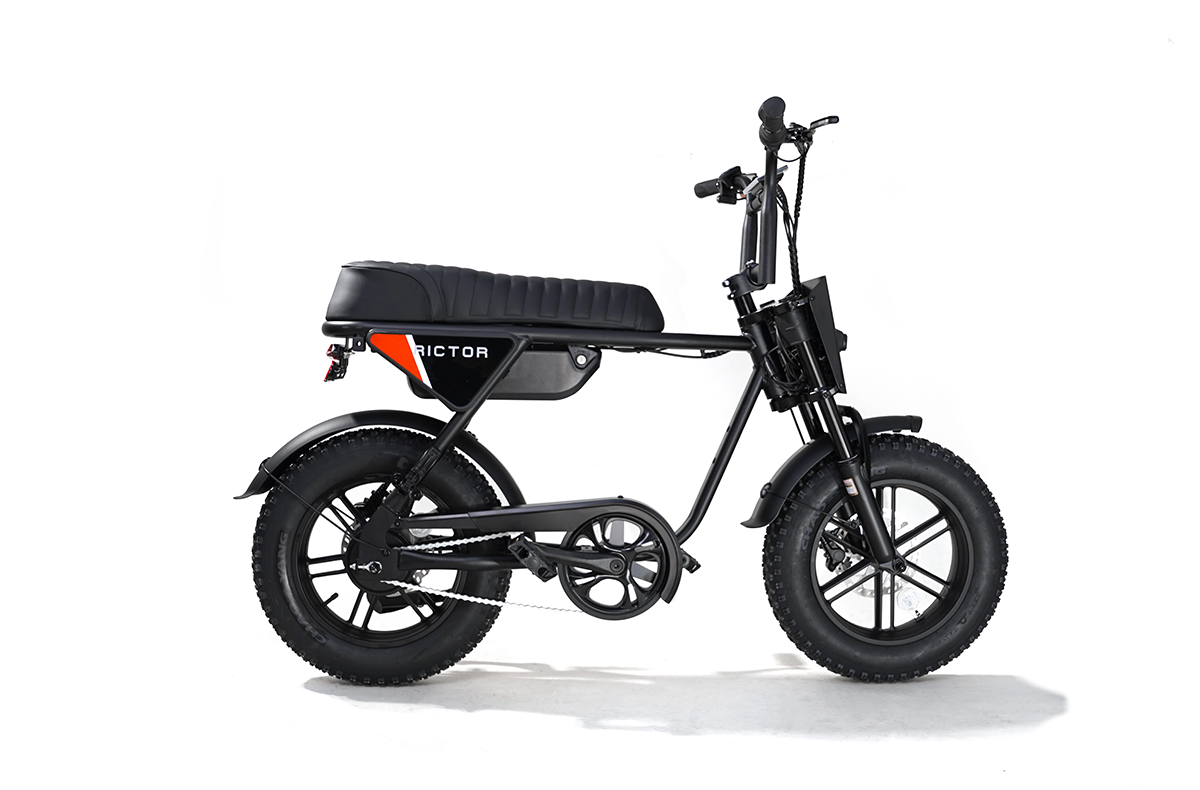
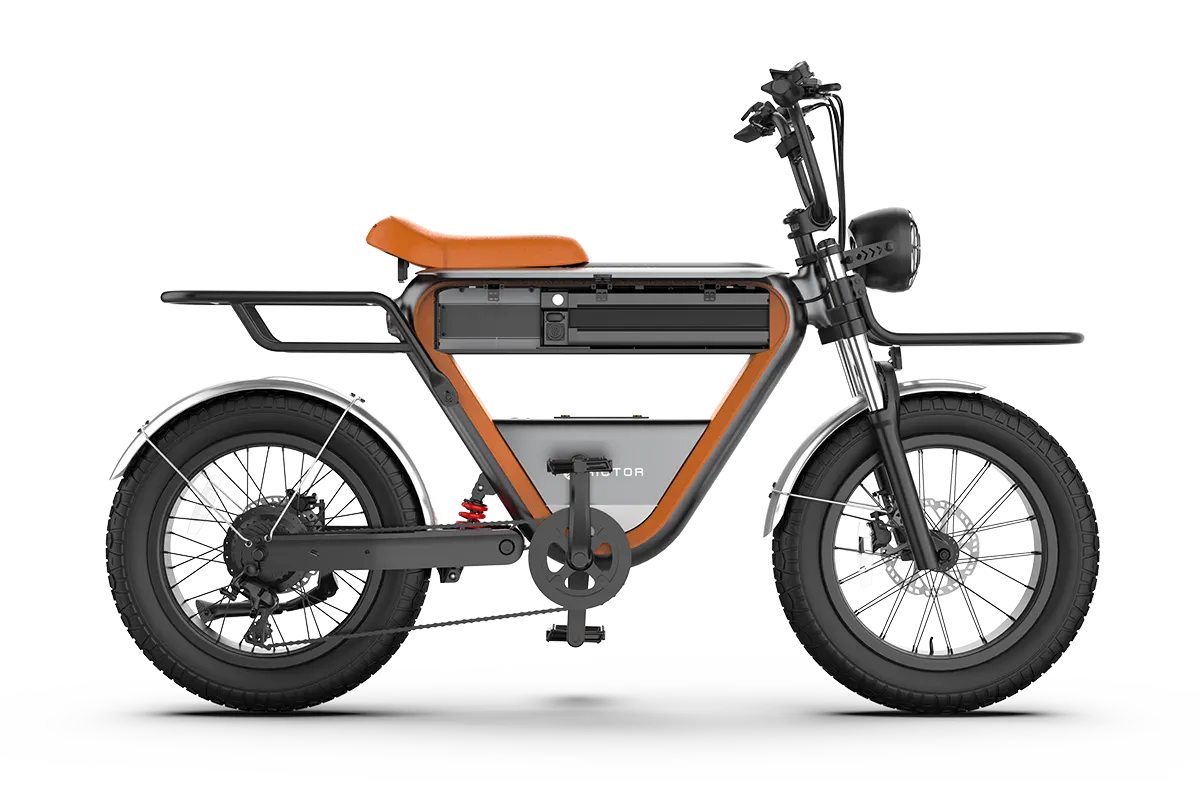
For experienced riders, building your own e-bike offers major advantages over buying pre-made models like the Rictor K1 cafe racer electric bike. When you've spent time riding, you develop a clear sense of what works for your specific needs.
DIY electric bikes allow for gradual upgrading - you can start with basic components and improve them as you learn what matters most for your riding style. Maybe you want more range but don't need high speed, or you prefer powerful acceleration but only ride short distances. Unlike new riders who might be satisfied with all-in-one solutions, experienced e-bikers know exactly which features they value most.
The customization freedom is unmatched. You choose exactly how your bike feels, responds, and performs. Want a stealthy commuter that looks like a normal bike? Or a powerful off-road machine? Your experience helps you make these decisions confidently.
Most importantly, DIY builds create a deeper connection with your ride. You'll understand every component, making troubleshooting easier and maintenance simpler. When something eventually needs repair or upgrading, you won't need to rely on specialized shops or proprietary parts like with complete e-bikes.
For the price of a basic pre-built e-bike like the Rictor, you can create a custom machine with higher-quality components in the areas that matter most to you. This approach is perfect for riders who've moved beyond the beginner stage and want a bike that truly matches their evolved preferences.
Base Bike Selection
Your starting point is the bike frame. Here's what to look for:
Frame Type: Mountain bikes work best for DIY conversions because they're sturdy and can handle the extra weight. Hybrid and commuter bikes are good too, especially for city riding.
Frame Material: Steel frames are tough and easy to modify. Aluminum frames are lighter but harder to alter. Avoid carbon fiber frames for DIY projects - they're too tricky to work with.
Frame Features to Check:
- Dropout width (where wheels attach) must fit your motor hub
- Bottom bracket type matters for mid-drive motors
- Space for a battery pack (down tube, rear rack, or triangle)
- Sturdy fork for front hub motors if you choose that option
Brakes: Disc brakes are better than rim brakes for e-bikes because they handle the extra weight and speed better. If your base bike has rim brakes, consider upgrading them.
Motor Options
The motor of your electric bike is crucial. Choose from these types:
Hub Motors:
- Front hub motors ($150-300): Easier to install but can cause steering issues
- Rear hub motors ($200-400): Better traction but make tire changes harder
- Power ranges from 250W (for flat terrain) to 1000W+ (for hills and high speeds)
- Look for motors with the right dropout width to fit your frame
Mid-Drive Motors:
- Cost more ($350-700) but provide better balance and efficiency
- Use your bike's gears for better hill climbing
- Popular brands: Bafang, Tongsheng, and Cyc Motor
- Check compatibility with your bike's bottom bracket type
- Power options from 250W to 1500W
Friction Drive Systems:
- Simplest to install ($200-300)
- Less efficient but easy to remove when not needed
- Good for temporary conversions
Battery Checklist
Your battery determines how far you can go. Here's what to consider:
Battery Type: Lithium-ion packs are standard now - they're lighter and last longer than older battery types.
Voltage Options:
- 36V: Entry-level, good for casual riders
- 48V: Sweet spot for most builds, balancing power and range
- 52V: Higher performance, but check if your controller can handle it
Capacity (Amp Hours):
- 10Ah: Budget option, 15-25 mile range
- 15Ah: Mid-range, 25-35 mile range
- 20Ah+: Long-range, 35-50+ mile range
Battery Features:
- Built-in Battery Management System (BMS) for safety
- Water-resistant case
- Secure mounting system
- Charging port location that's easy to access
- Lock mechanism if it's removable
Charger: Get a quality charger made for your battery voltage. Smart chargers that prevent overcharging are worth the extra cost.
Controller Requirements
The controller manages power between your battery and motor:
Controller Specs:
- Voltage must match your battery (36V, 48V, 52V)
- Amp rating determines peak power (20-30A for most builds)
- Make sure it's waterproof or get a waterproof case for it
Controller Features to Look For:
- Programmable settings for power levels
- Low-voltage cutoff to protect battery
- Current limiting to prevent motor damage
- Regenerative braking option (for compatible motors)
- Temperature protection

Display and Control Options
These components let you control and monitor your e-bike:
Display Types:
- Basic LED displays ($15-30): Simple battery level and power mode indicators
- LCD displays ($30-80): Show speed, distance, battery level, and power modes
- Color displays ($80-150): More features, better visibility, and sometimes Bluetooth
Throttle Options:
- Thumb throttle: Easier to install, good for occasional use
- Twist throttle: More like a motorcycle, better for continuous use
- Half-twist throttles: Less hand fatigue than full-twist designs
Pedal Assist Sensors:
- Cadence sensors ($15-30): Simpler, activate when pedaling at any pressure
- Torque sensors ($80-150): More natural feel, respond to how hard you pedal
- Multi-level settings to adjust assistance amount
SEE ALSO Can You Replace Your E-bike’s LCD Display with Another Type?
Wiring and Connectors
Don't overlook these essential electrical components:
Main Wiring Harness: Usually comes with the motor kit but check for:
- Wire gauge thick enough for your power level
- Waterproof connectors
- Proper length for your frame size
Connector Types:
- XT60/XT90 connectors for main battery connections
- Waterproof quick-disconnect plugs for motor and display
- Heat shrink tubing to waterproof connections
Accessories:
- Wire loom to protect cables
- Zip ties for securing wires to frame
- Cable guides for clean routing
- Electrical tape and silicone sealant for waterproofing
Mechanical Accessories
These parts help integrate the electrical system with your bike:
Motor Mounting Hardware:
- Torque arms for hub motors to prevent dropout damage
- Bottom bracket adapters for mid-drive motors
- Motor axle spacers if needed for your frame
Battery Mounts:
- Frame mount battery holders
- Rear rack battery mounts
- Triangle battery bags
- Bottle cage adapters for smaller batteries
Gear Accessories for Mid-Drives:
- Chainring specifically designed for mid-drive motors
- Chain guide to prevent drops with increased power
- Stronger chain (8-9 speed chains work well with e-bikes)
Tools Needed for Assembly
Have these tools ready before you start:
Basic Tools:
- Allen key set (metric)
- Wrench set (8-19mm)
- Screwdriver set
- Tire levers
- Bike pump
Electrical Tools:
- Wire cutters/strippers
- Crimping tool for connectors
- Multimeter for testing connections
- Soldering iron and solder (for some connections)
Specialized Tools:
- Bottom bracket tool (for mid-drive motors)
- Crank puller (for mid-drive motors)
- Cassette removal tools (for rear hub motors)
- Spoke wrench (for wheel building with hub motors)
Safety Equipment
Don't forget these safety-related items:
Electrical Safety:
- Inline fuse for the battery (matching your controller's max amp rating)
- Battery disconnect switch for emergency cutoff
- Insulated tools when working with high-voltage systems
Riding Safety:
- Quality helmet rated for higher speeds
- Lights powered from the main battery
- Horn or bell that's easy to reach
- Brake cutoff sensors that stop motor power when braking
- Mirrors for better visibility in traffic
Upgrade Options
Consider these additions to improve your e-bike:
Performance Upgrades:
- Higher capacity battery for extended range
- Upgraded controller for more power modes
- Cooling systems for controllers and motors in hot climates
- Better quality display with more features
Comfort Upgrades:
- Suspension fork to handle higher speeds
- Suspension seatpost to reduce vibration
- Wider tires for stability and comfort
- Ergonomic grips to reduce hand fatigue
Practical Upgrades:
- Fenders to keep clean at higher speeds
- Sturdy kickstand that handles the extra weight
- Cargo racks and panniers for carrying capacity
- Integrated lighting systems powered by main battery
Shopping Tips
Smart buying advice for your e-bike parts:
Where to Buy:
- Dedicated e-bike kit suppliers offer better support
- Avoid the cheapest options on marketplace sites
- Look for sellers with good technical support
- Check for local dealers who may offer in-person help
What to Prioritize:
- Never skimp on the battery - it's the most critical component
- Get a motor that matches your terrain needs
- Don't cut corners on connectors and wiring
- Invest in good brakes - they're essential at higher speeds
Compatibility Notes:
- Always match battery voltage to controller and motor ratings
- Check motor axle width against your frame's dropouts
- Verify all connectors work together (or get adapters)
- Confirm display units work with your controller
Cost Breakdown
Know what to budget for each component:
Basic Build ($700-900):
- Hub motor kit with basic controller: $250-350
- 36V 10Ah battery pack: $200-300
- Simple display and throttle: $30-50
- Mounting hardware and wiring: $50-100
- Used donor bike: $100-200
Mid-Range Build ($1,000-1,500):
- Quality hub motor or entry mid-drive: $350-500
- 48V 15Ah battery: $350-500
- LCD display with features: $50-80
- Better mounting solutions: $80-120
- New or quality used donor bike: $200-400
High-End Build ($1,800+):
- Premium mid-drive system: $700-1,000
- 52V 20Ah battery: $600-800
- Advanced display and control system: $100-150
- Custom mounts and wiring: $150-200
- Quality new donor bike: $500+
Conclusion
Building your own electric bike starts with choosing the right parts. This checklist helps you gather everything you need before starting assembly. By selecting components that work well together and match your riding style, you'll create an e-bike that's perfect for you. Take your time researching each part, especially the motor and battery, as these have the biggest impact on performance. With the right components in hand, your DIY electric bike project will be more successful and enjoyable.
FAQs
What's the single most important component when building an e-bike?
The battery is most critical - it determines range, affects performance, and is typically the most expensive part. Don't cut corners here, as a quality battery pack with good cells and a reliable Battery Management System (BMS) ensures safety and longevity.
Do I need special tools to build an e-bike?
For basic hub motor builds, standard bike tools plus wire cutters and a multimeter are usually enough. Mid-drive installations require bottom bracket tools. You don't need professional-grade equipment, but having the right tools makes the job much easier and safer.
What's the difference between cheap and expensive e-bike kits?
Cheaper kits often use lower-quality batteries with less capacity, motors with plastic gears instead of metal, and basic controllers with fewer features. More expensive kits include better waterproofing, higher-quality connectors, more durable components, and better customer support.


